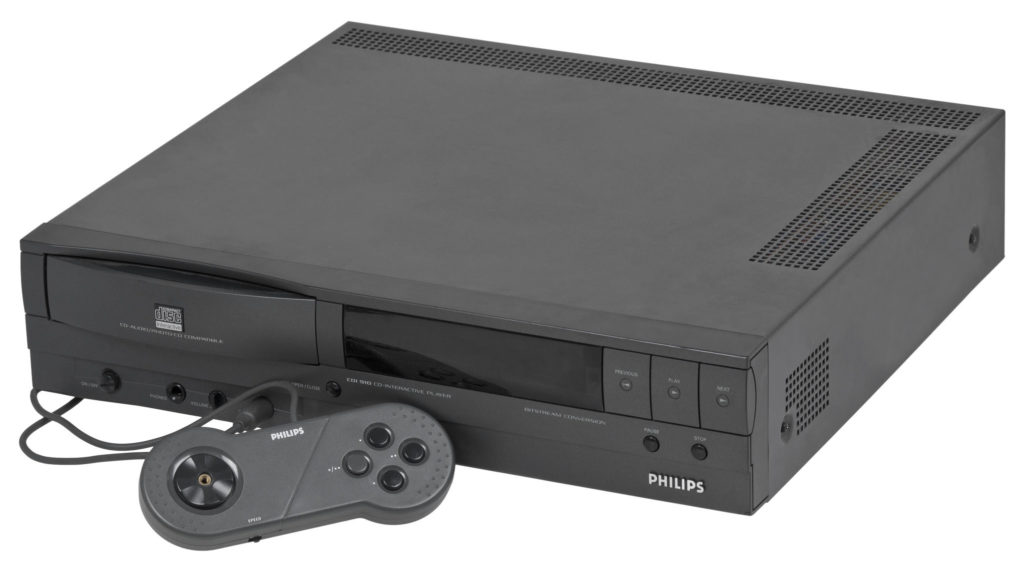
CD-i 205 – 910 Timekeeper substitution with socket
If you still don’t know the reason why you should change your CD-i player’s Timekeeper, please read this article.
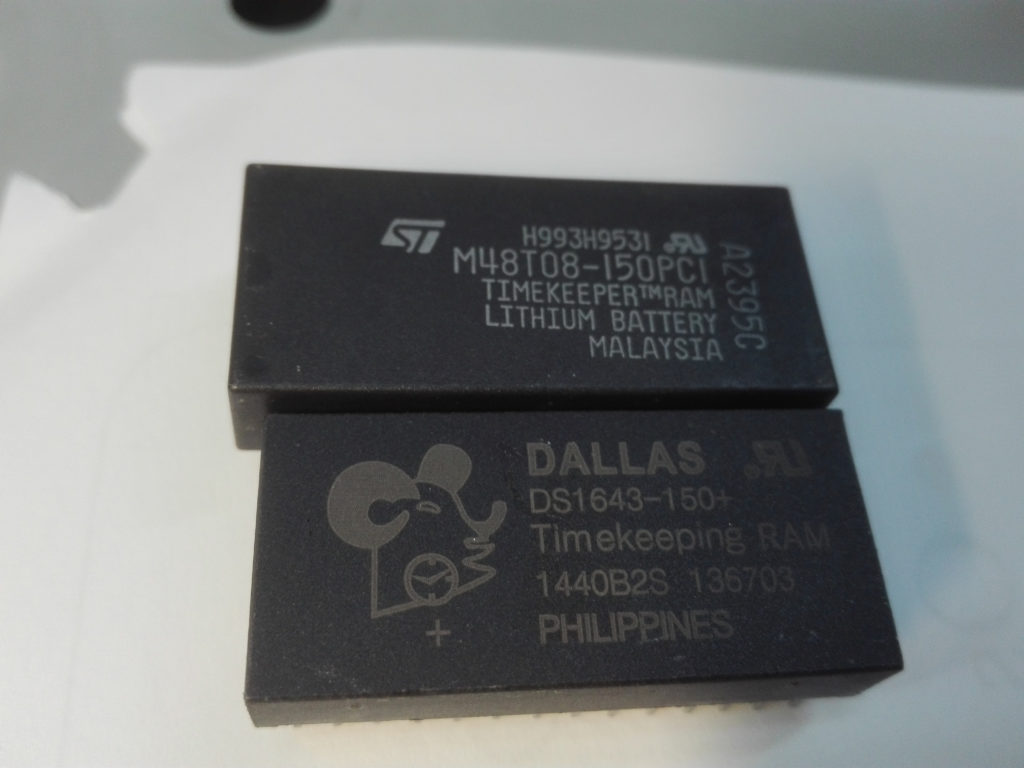
You can get a new Timekeeper over the internet (ebay, Amazon) or contacting Darius on our Community Forum.You can use one of those Timekeepers:
MK48T08B15, M48T08, M48T18 or DS1643
The one used in this tutorial is DS1643.
Before we start, it is important to have some soldering basic skills.
You will need a soldering machine with a low power, a solder sucker and a new timekeeper.
If you do not have some basic skills or are afraid in doing this, please don’t try! You may kill your player for good.
Ask a friend to do it for you. Remember, at The World of CD-i, we repair all CD-i stuff, accessories included! Contact us!
Let’s fix your 205 or 910!
– You first need to open your player.
– Remove the cover to get access to the inside of it.
– Remove the Digital Video Cartridge (DVC) (if your player is equipped with one).
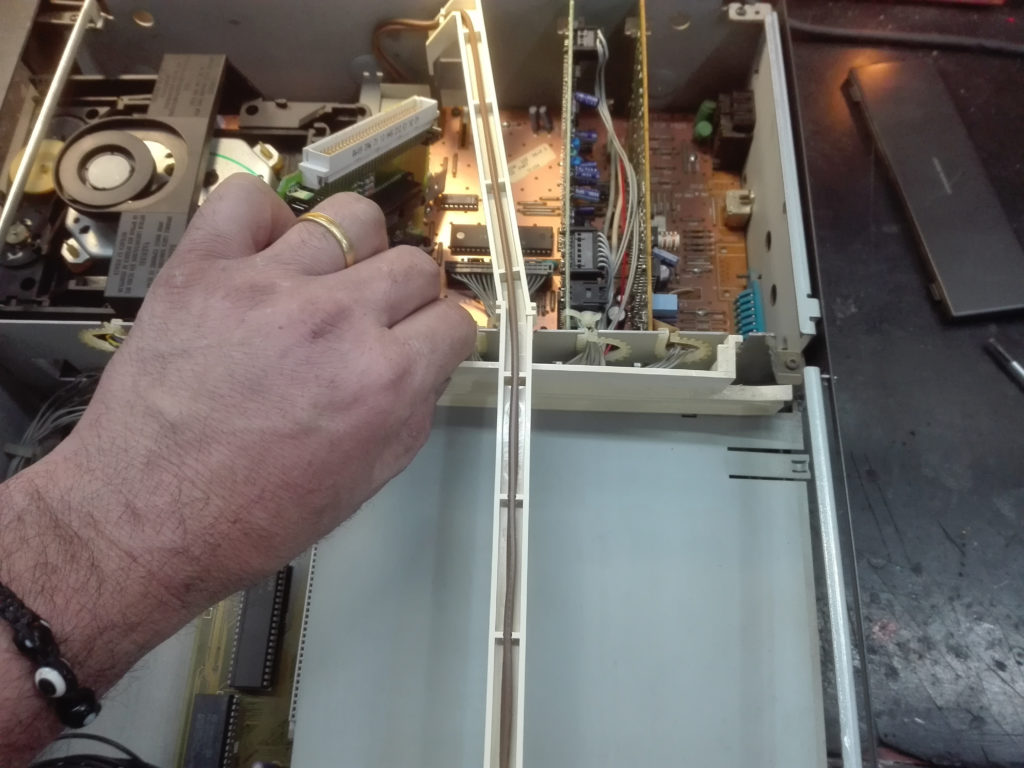
– Remove the vertical board that connects to the DVC.
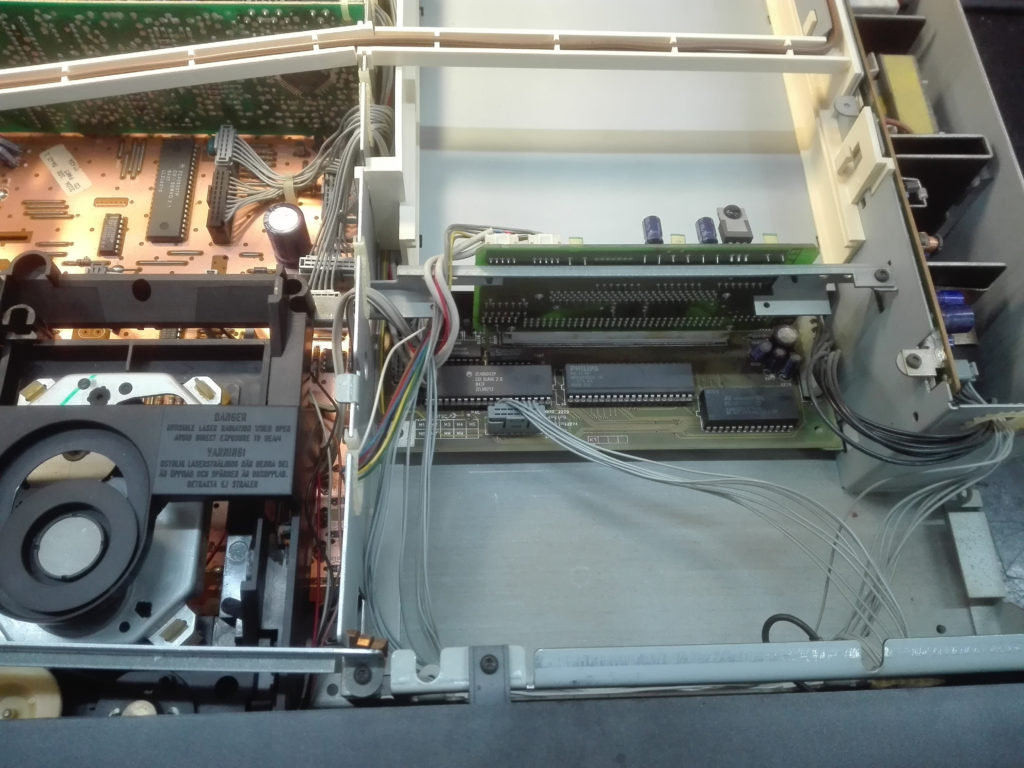
- The DVC support
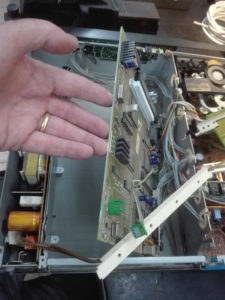
- Remove the DVC board
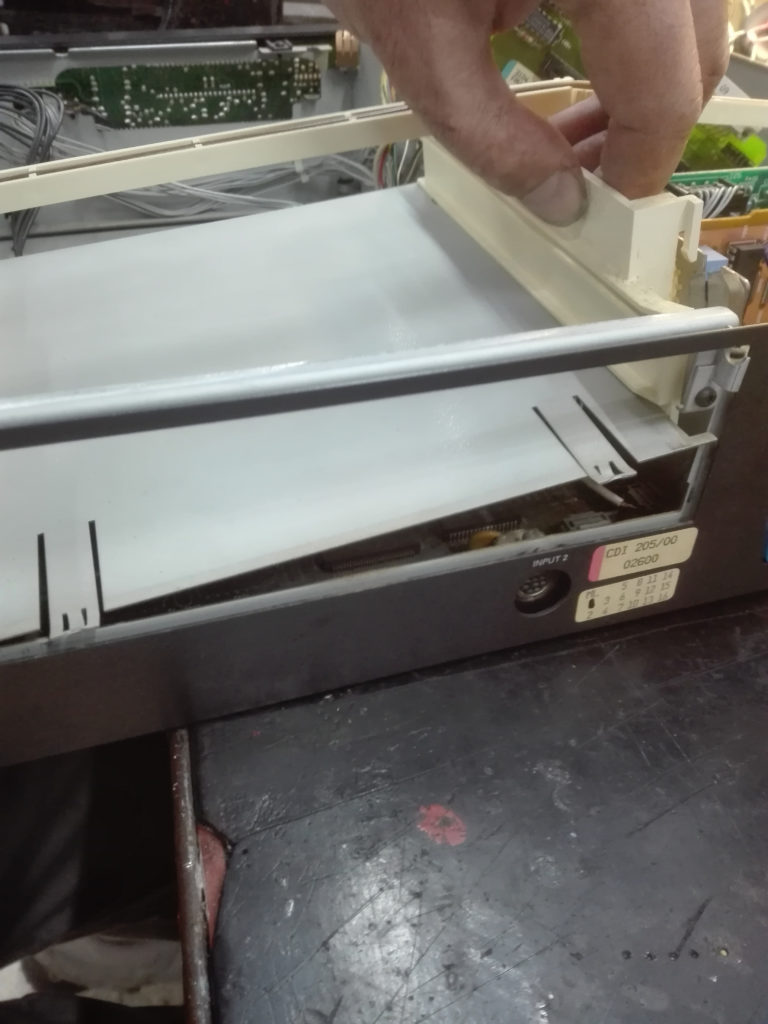
– Remove the metallic part to access to the mainboard.
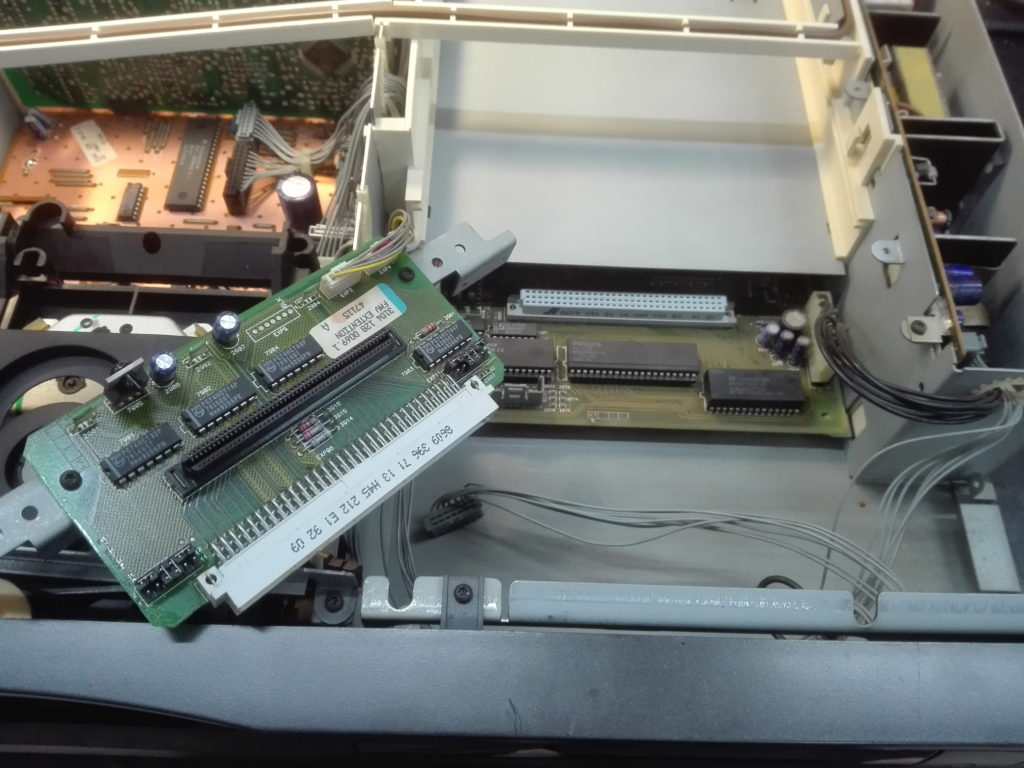
- The DVC base
- Remove it access the board
– Take a look ate the mainboard.
– Disconnect the cables (take some pictures to avoid wrong connections).
– Remove the screws.
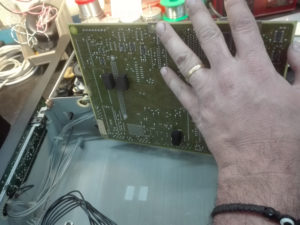
– Remove the mainboard.
- This is the mainboard
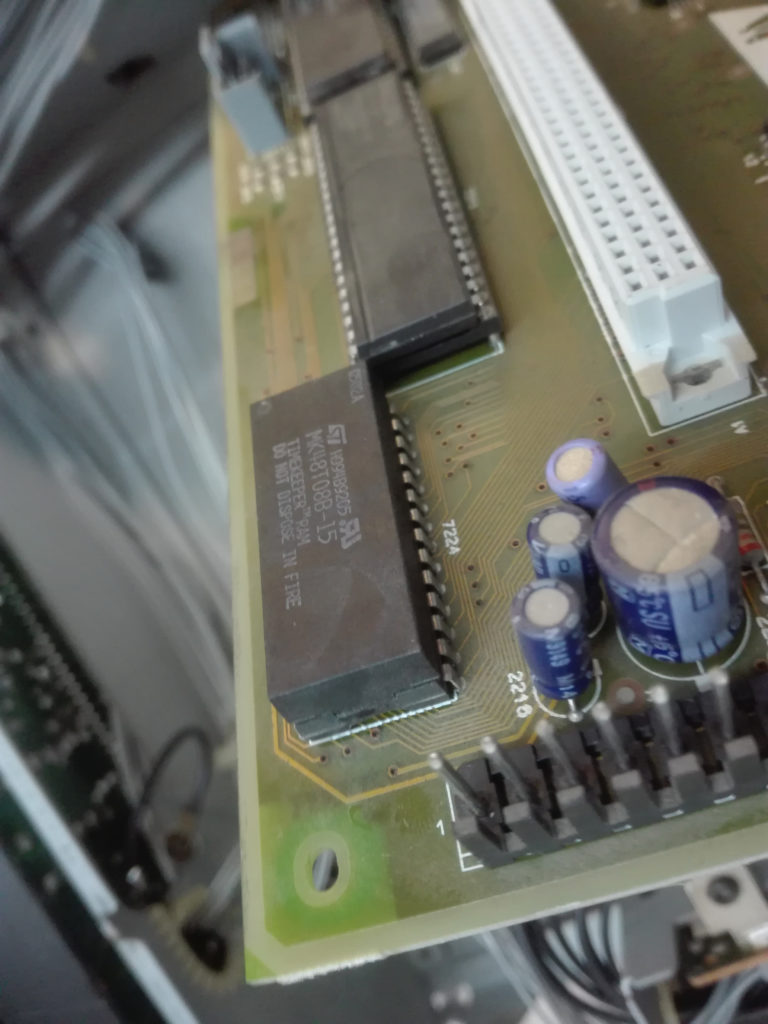
– Identify the Timekeeper.
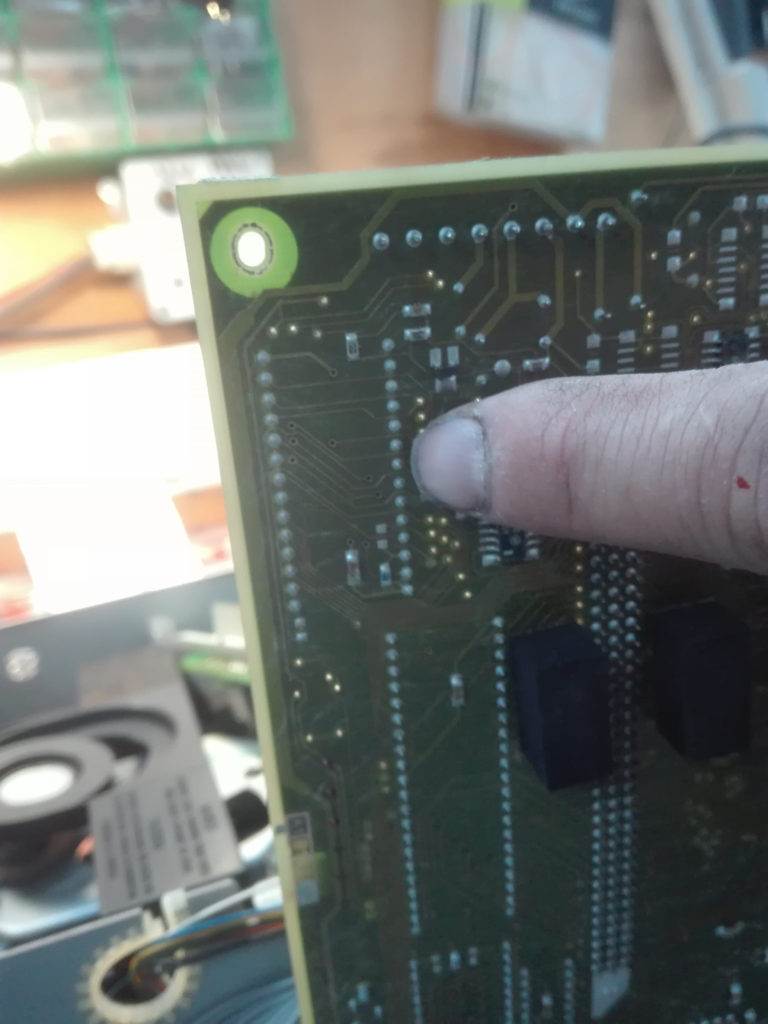
– Look at the back of the mainboard and identify the connection points.
- This is the Timekeeper
- The connection points
– Unsold and remove the timekeeper.
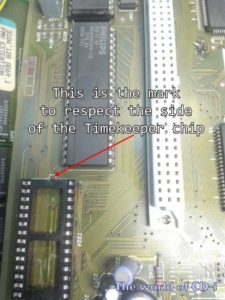
– Remember the position of the chip! It won’t work if you place the new one in the opposite position.
– Place the socket for the new Timekeeper.
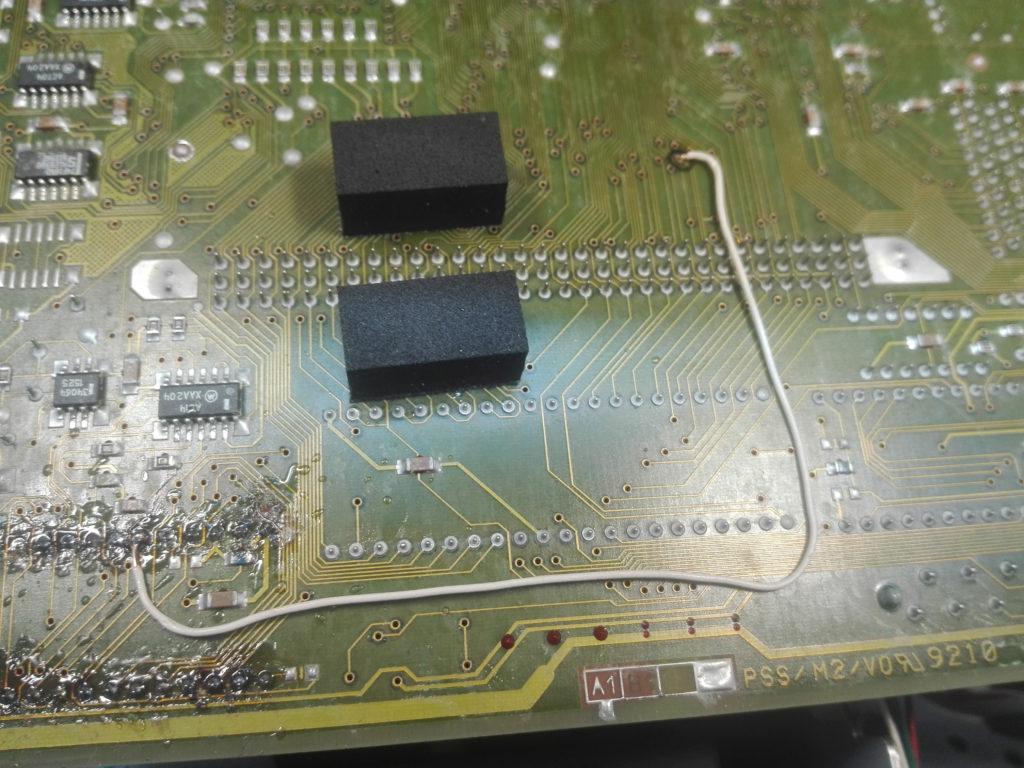
The Timekeeper of this model have a very tiny pins, if by any bad luck, removing the Timekeeper, you broke tracks, this is not a problem. Don’t worry, your player isn’t dead.
Just follow where the track is going to and sold a wire from the pin to one connection point of the track.
Look at the following picture.
- A wire to restore a broken track
– Place the new Timekeeper on the socket.
– Place the mainboard to its location, screw and connect it.
– Place all the pieces and close your player.
In the picture, you can visualize around the soldered point a shining area, this is varnish from the board. It is up to you to clear it or not. Sometimes I do clean, sometimes not. If you do, use something to scrape that will not damage any tracks nearby. This is an important advice.
– Try your CD-i player and save some settings.
– Turn your player off, unplug from power supply and then on again.
– Verify if the settings are now kept.
A Timekeeper calibration may be needed, why?
The clock adjustment may not be the same as the old Timekeeper, the frequency may have to be adjusted.
You will define if you need to do it by verifying day after day if the time and date are not going to fast or to slow comparing to an external clock.
If you really do need to do that, please visit RetroStuff.org for the Step-by-Step.
Congratulations you have repaired your CD-i player with success!

