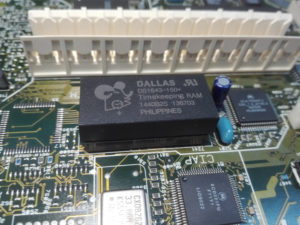
If you still don’t know the reason why you should change your CD-i player’s Timekeeper, please read this article.
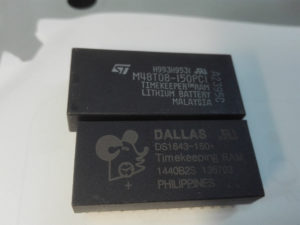
You can get a new Timekeeper over the internet (ebay, Amazon) or contacting Darius on our Community Forum.
You can use one of those Timekeepers:
MK48T08B15, M48T08, M48T18 or DS1643
The one used in this tutorial is DS1643.
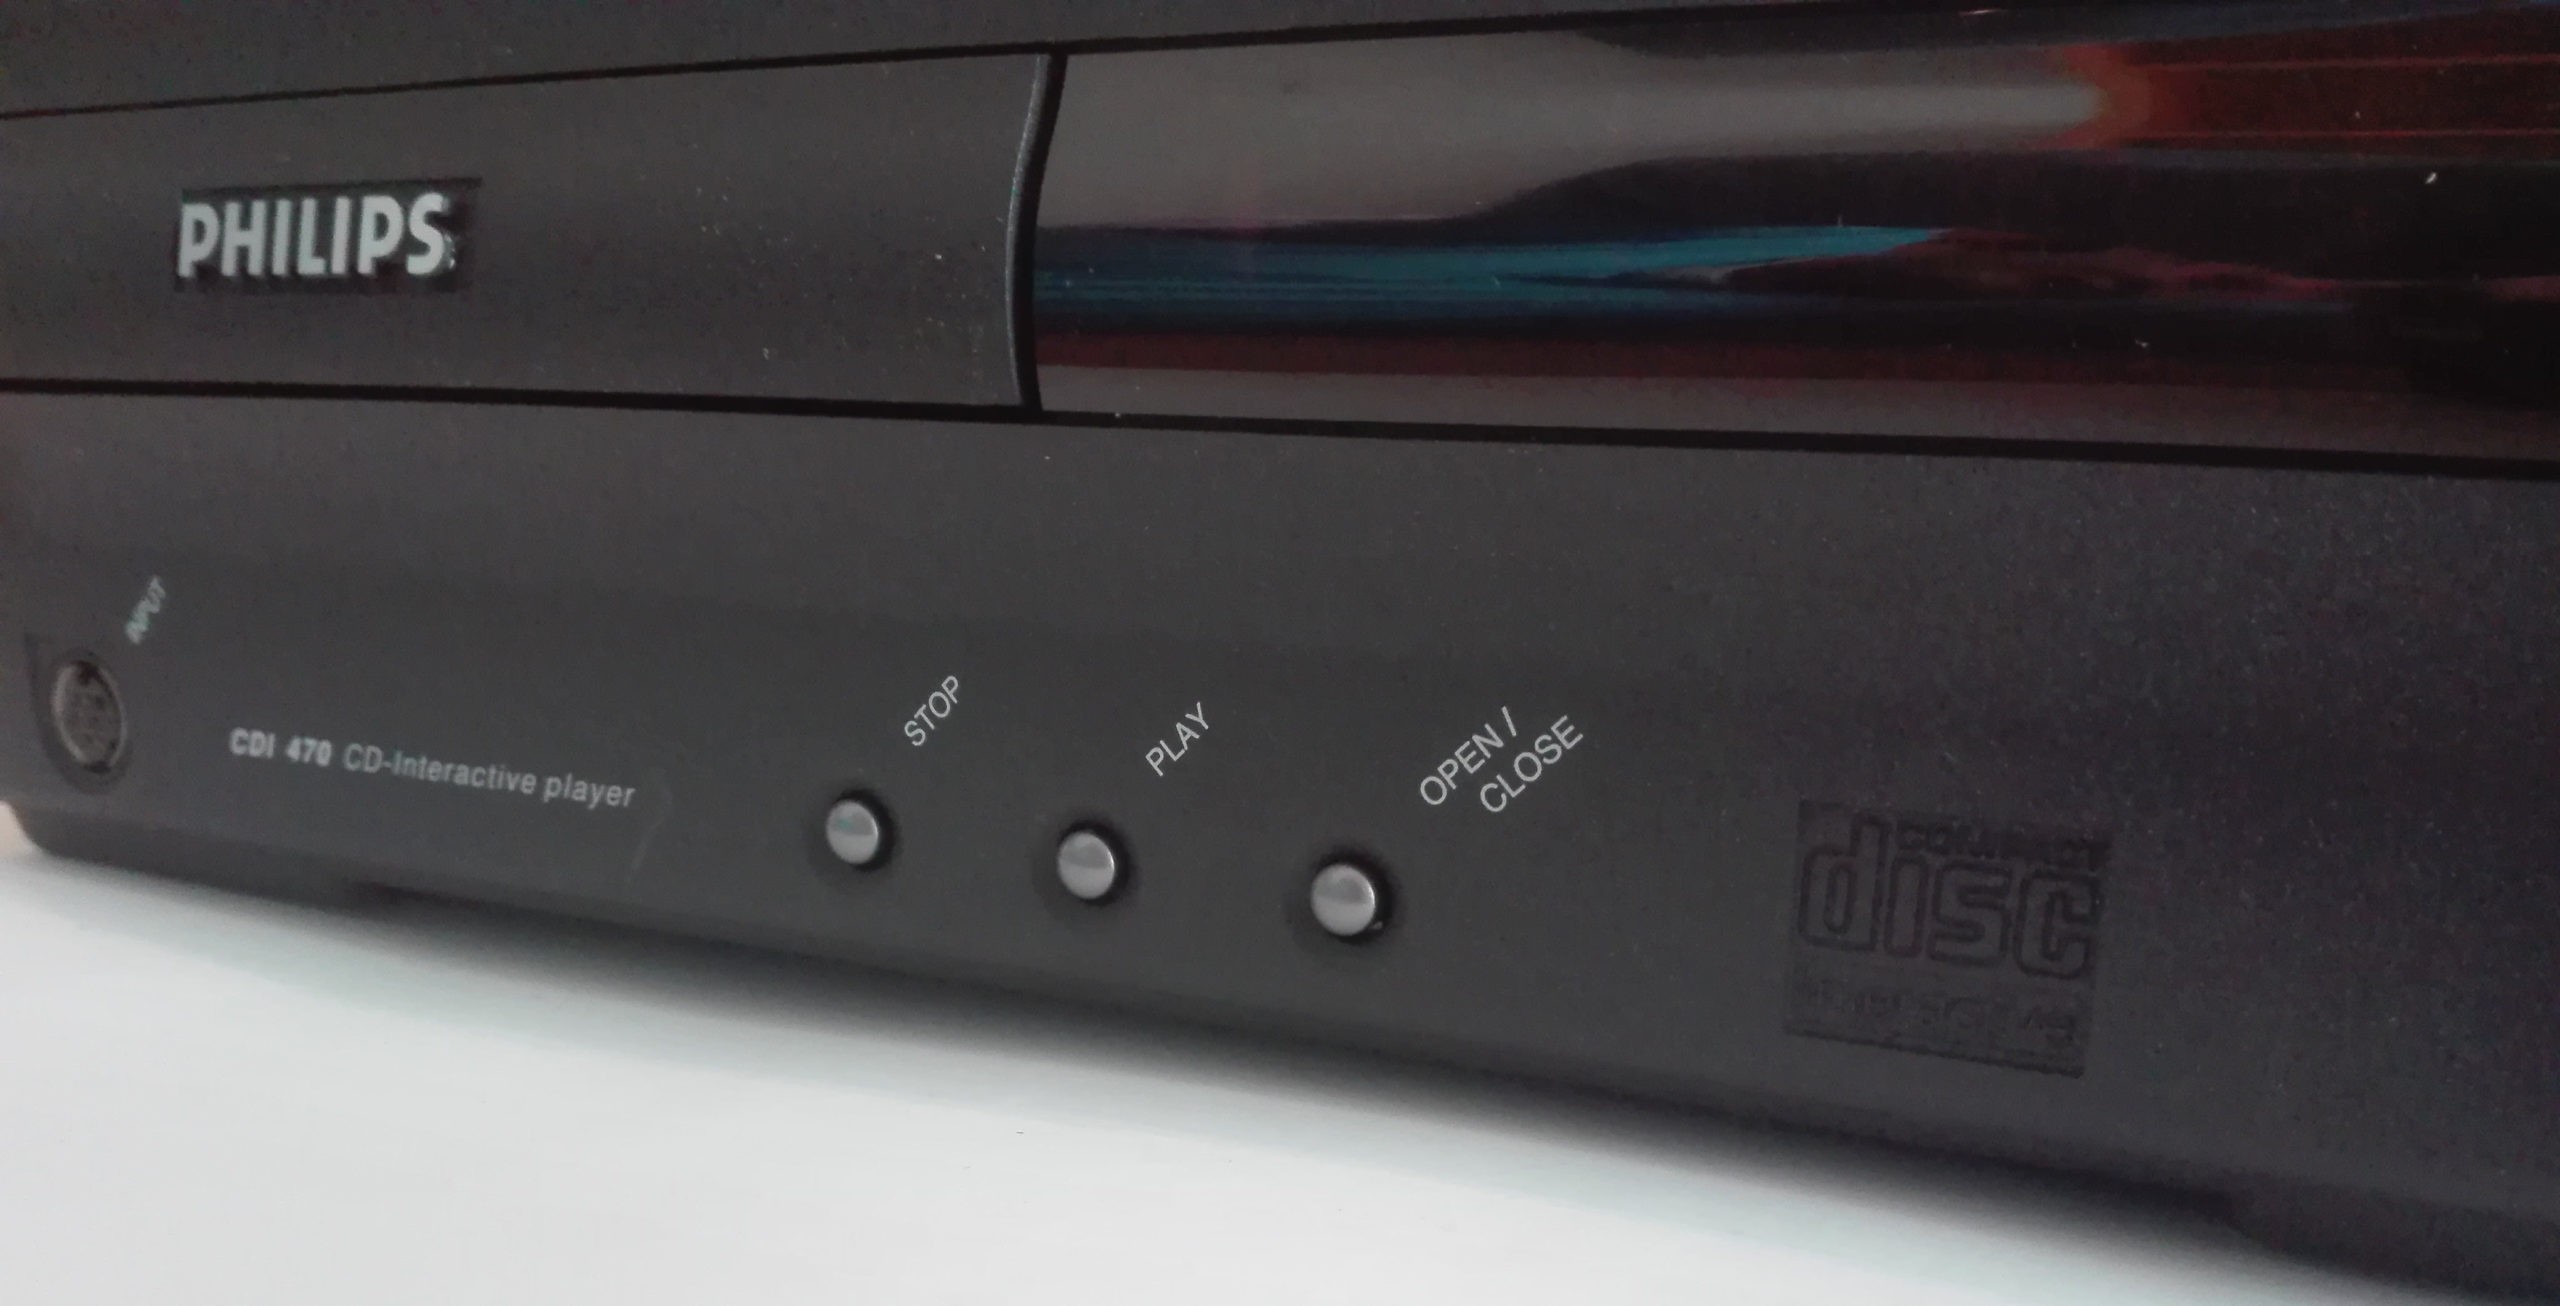
This CD-i 470/40 is from Thorsbabelis, a member of our website who asked me to repair his player.
Thank you for the trust you placed on me to touch, open and fix your beautiful player!
Beside the Timekeeper, the door was also making noise and didn’t close completely, needing the help of our hand to completely close it.
Let’s fix those issues!
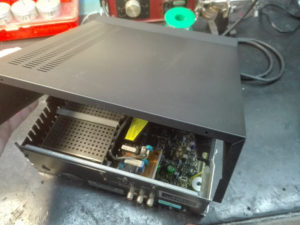
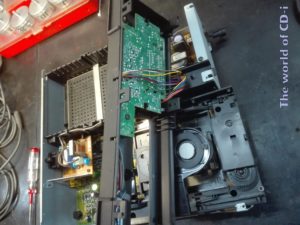
- Remove the cover
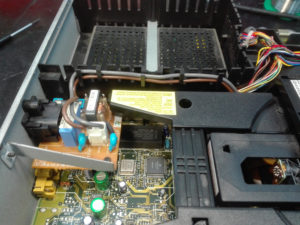
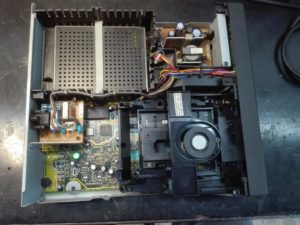
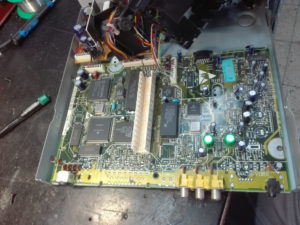
- Take a look at the inside
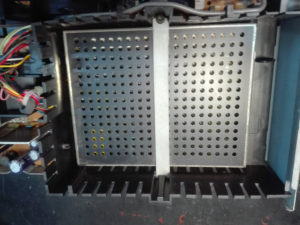
- Remove the CD older
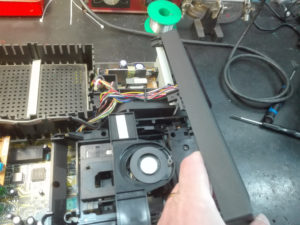
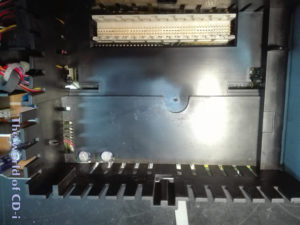
- CD older removed
– You first need to open your player.
– Remove the cover to get access to the inside of it.
– Take a look at the inside of your player and try to identify the components.
– Remove the CD older.
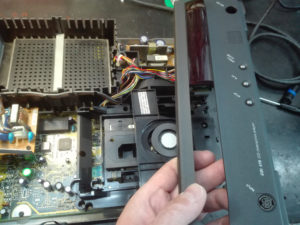
– Remove the player’s front panel.
– Remove the Digital Video Cartridge (DVC) by removing the metalic locker.
– Remove black plastic DVC socket.
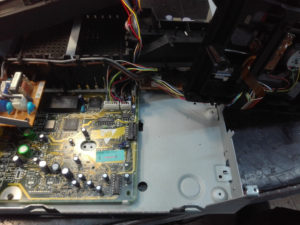
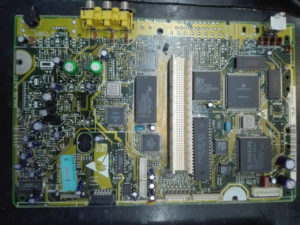
- The player mainboard
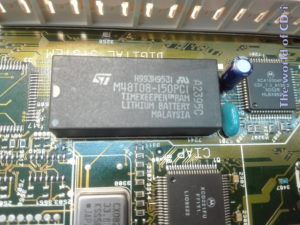
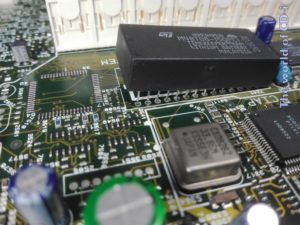
- The Timekeeper chip
– Disconnect the cables (take some pictures to avoid wrong connections).
– Remove the screws.
– Remove the main board.
– Identify the Timekeeper.
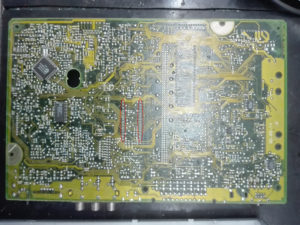
- The Timekeeper chip connections
– Look at the back of the main board and identify the connection points.
– You will find 14 connections for each side, so 28 pins to unsold.
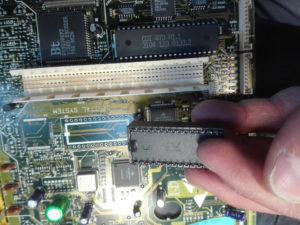
– Unsold and remove the timekeeper.
- Unsold the old Timekeeper
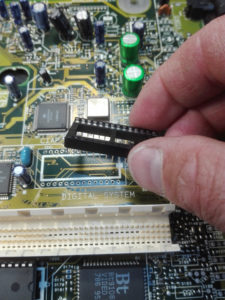
- Remove the old Timekeeper
– Remember the position of the chip!
– Each chip are marked to avoid wrong side placement. It won’t work if you place the new one in the opposite position, and you also may kill the new Timekeeper after powers on the player.
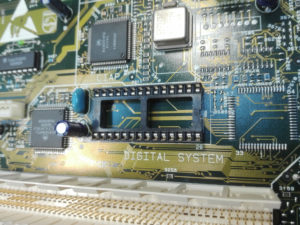
– Place the socket for the new Timekeeper.
Just follow where the track is going to and sold a wire from the pin to one connection point of the track.
Look at the following picture.
– Place the new Timekeeper on the socket.
– Place the main board to its location, screw and connect it.
Before you place the CD tray, we will solve the not closing door.
– Remove the old belt and place a new one. I didn’t had any reference on it, just used a belt spare.
I will post later the exact dimension and if possible reference of the belt later.
Now, let’s solve the noise we listen when opening and closing.
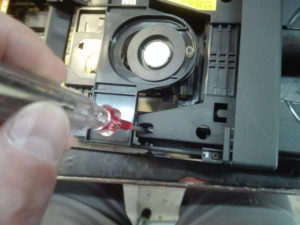
– I used an electrical spray called CRC-252, using a straw to only place it on the spiral moved by the motor.
You also can use any fat solution, it will remove any noise of friction.
– Now place all the pieces and close your player.
– Try your CD-i player and save some settings.
– Turn your player off, disconnect from the plug for some minutes and then plug on again and turn it on.
– Verify if the settings are now kept.
Congratulations you have repaired your CD-i player!
Written by omegalfa, © 15/05/2020

